A picnic roll-up blanket

20140730-IMG_0633

Have you ever had one of those projects that sits on your “to-sew” list for ages? Well this is one of mine, and I finally FINALLY made it. It only took two years of waiting on the list 😉 Meet the picnic roll-up blanket.

20140730-IMG_0631

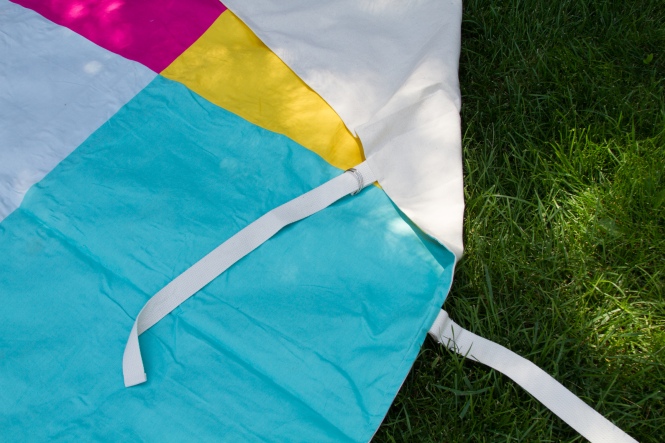
For this project I followed this lovely tutorial over at Purlbee. The fabric I used for the blanket top was Kaufman essex linen blend in colors sunshine, medium aqua, light blue, and hot pink. The essex linen is definitely a heavier, scratchier fabric which suited this project perfectly, but I’d proceed with caution if using it for kid’s clothing. It could make some great bottoms or jacket but if you’ve got a little one who won’t do anything scratchy then you may want to find a different fabric for the job. For the bottom of the blanket I used a 10 oz heavy weight canvas in color natural. If you want your blanket to be waterproof you could substitute the canvas for something laminated, or maybe even add a waterproof layer between the layers.. otherwise you may end up with a wet bottom!

20140730-IMG_0627

The really cool part about this blanket is that it rolls up all nice and neat ready to be stowed in a beach bag or picnic basket. For my ties I used some 1.5″ natural colored cotton webbing and nickel D rings. I just love how it looks all bundled up and ready to go out for a picnic!

20140730-IMG_0630

If you’re tired of sitting on a sheet or towels try out the picnic-roll tutorial over at purlbee! It’s a very quick sew and looks so fabulous when you’re done.

What’s the longest a project has sat on your “to-sew” list before you finally completed it? Can you top my two years? 😉

 

Summer KCW – day 7

20140728-IMG_0569

KCW always ends up being one crazy productive week over here and this time was no exception! Both kids got a complete outfit out of me, and whew I’m beat! To finish up my daughter’s ensemble I whipped up these lovely puppet show shorts by Oliver + s.

20140728-IMG_0573

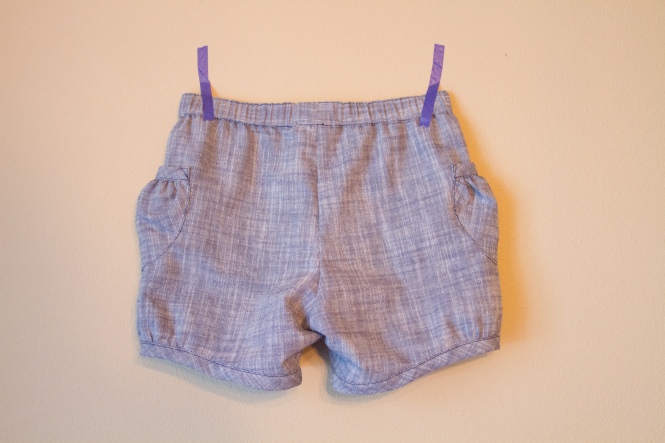
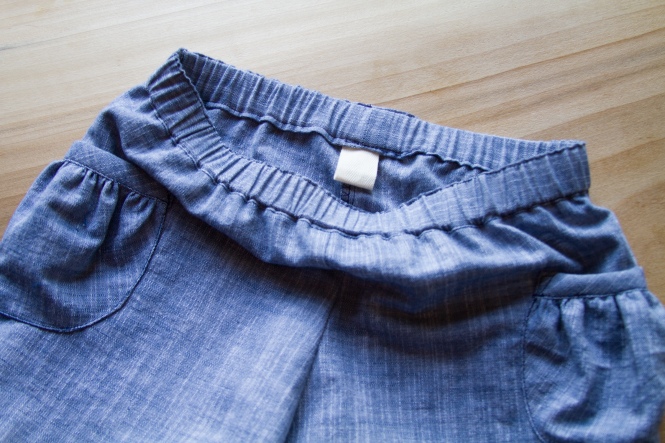
These are sewn in size 4 width 5 length with no other modifications to the pattern. They sewed up quite fast and were a great last project to finish KCW up with. I wanted these to be as versatile as possible so I made them out of a simple yet lovely Kaufman union chambray in indigo.

20140728-IMG_0576

Oliver + s patterns usually include such lovely little hints, like adding some ribbon or fabric tape to mark the back of the garment, as pictured above. My daughter likes to dress herself now and this makes it much easier for her to not get her clothes on backwards!

20140728-IMG_0579

Belly button! Oh and cute shorts too 😉

20140728-IMG_0617

The finished outfit!

20140728-IMG_0619

20140728-IMG_0625

These will be a wardrobe staple for sure!

KCW success! I think I’ll celebrate by lying down now 😉

How was your KCW sewing week? Did you get everything done you wanted to or did the kids have other plans for your time?


Summer KCW – day 6

20140727-IMG_0507

With KCW quickly coming to an end I needed some quick projects for my girl, and decided on this halter top. Thankfully it was a breeze to put together!

20140727-IMG_0512

The pattern I used was Oliver + s ruffled halter, which is a free pattern offered on their website, sewn in a gorgeous indigo blue handwoven Balinese ikat, with Kaufman union chambray as the lining and lemon yellow shot cotton for the tie. This ikat is seriously drool-worthy! So lightweight, so airy, so brilliant in color. ❤

20140727-IMG_0510

I made a few modifications to the sewing pattern. First, I made it between sizes so that it was a 4/5. Next, I didn’t include any of the ruffles but only used the front, back, and tie pattern pieces. Since the top ruffle is used to finish the neck and arm edges plus used to create the casing I decided to make a lining to serve these purposes instead.

20140727-IMG_0517

You can see the lining here. I basically traced the front piece and chopped it off where I wanted the lining to end and finished the bottom edge neatly. Then I sewed it together using the same instructions as for the top ruffle, but making sure to stitch the top front and lining right sides together. Lastly, I hand-stitched the bottom hem for a more formal invisible finish.

20140727-IMG_0536

Love that ikat! Love that kid!

20140727-IMG_0526

The back of this halter is my favorite part. Very adorable!

20140727-IMG_0555

Action shot!

20140727-IMG_0560

There will be lots of wearing this top for the rest of the summer! Now I just need to sew up the shorts to go with it before KCW runs out on me 😉

Are you done sewing for KCW or will you be burning the midnight oil to squeeze out one last project?


Summer kcw – day 4&5

20140726-IMG_0473

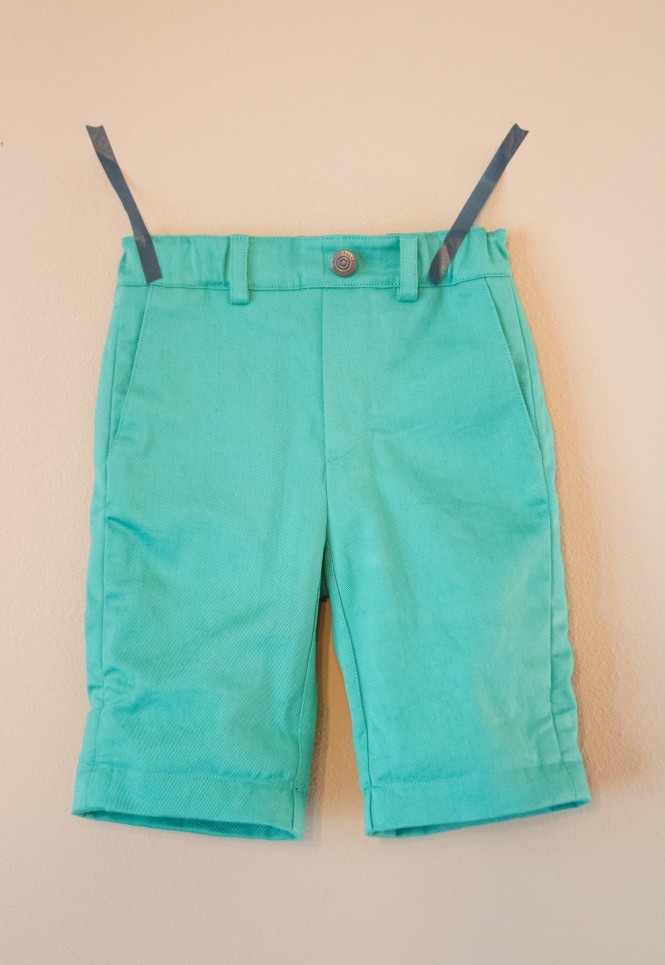
It took some doing, but my boy’s outfit is done! This is the final piece, a pair of twill shorts with roll-up racing stripes.

20140725-IMG_0466

For the pattern I used Oliver + s art museum trousers which I shortened to capri length, and sewed in Robert Kaufman hampton twill calypso with the contrast pockets and waistband lining in Kaufman newcastle denim. This twill is perfect for bottoms; sturdy, soft, and comes in a bunch of great colors.

20140726-IMG_0471

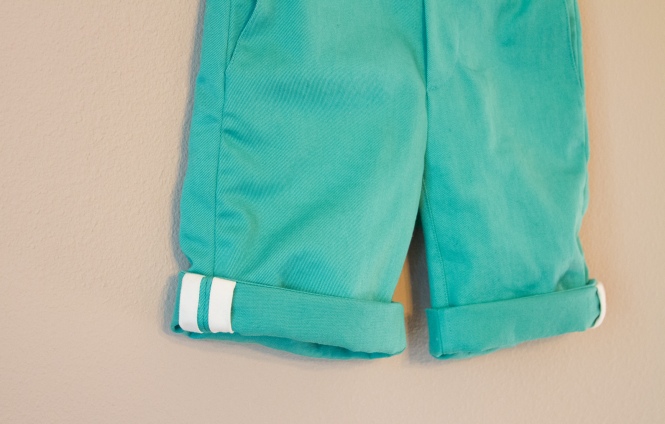
When unrolled these are an unassuming capri pant, but once you roll them up…

20140726-IMG_0474

…these awesome racing stripes appear!

20140726-IMG_0479

This is a look at the insides. To make the racing stripes I finished the outer side-leg seams with bias tape and I flat felled the inseam for a neat finish when the legs are rolled up into shorts.

20140726-IMG_0476

For the button I used a blue-jeans button which snaps on. Simple!

20140726-IMG_0478

Denim welt pockets. ❤

20140726-IMG_0496

Finally the completed ensemble! I love how each piece works by itself, or can combine to one epic outfit.

20140726-IMG_0501

20140726-IMG_0494

20140726-IMG_0504

KCW has been a success so far for my boy! Now to try to eek out an outfit for my girl before the week is out 😉

How’s your KCW sewing going?


Summer KCW – day 2&3

20140723-IMG_0402

There is something so simple and lovely about denim and linen together. When I decided to make my son this shirt for KCW day 1 I knew it was to be part of an outfit. The print for that shirt is a bit more wild, so some simple staple pieces were needed to complete the ensemble without overdoing it, and a classic denim and linen vest fit the bill.

20140723-IMG_0410

The pattern I used is Oliver + S Art museum vest in size 18-24 months. The fit is just right and I’m glad I didn’t go any bigger on it.

20140723-IMG_0403

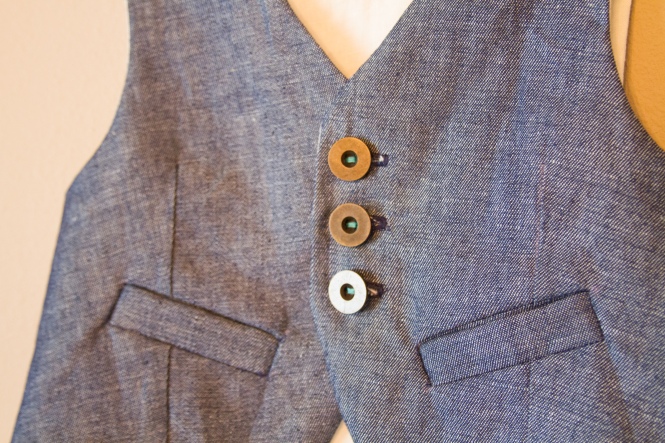
The fabrics I used were a beautiful Robert Kaufman Newcastle denim in indigo and an ivory linen from Joann’s. The buttons are a mix of some super cool european style ones on the front, and some basic denim buttons for the back band.

20140723-IMG_0410

I like the look of these blue-jeans buttons on the back. Simple, and no sewing required!

20140723-IMG_0408

This garment did take a bit more time and effort to construct. But those welt pockets are worth it. I just love little boys in tailored pieces!

20140723-IMG_0411Two of the three finished! Matching bottoms will be coming up later this week.

20140723-IMG_0418

But for now here’s a few action shots in his sunny day shorts 😉

20140723-IMG_0436

20140723-IMG_0442

20140723-IMG_0445

It’s way too sunny out for proper picture taking!

Days 2 & 3 of KCW have gone by in a blink! I hope I can get the rest of my sewing done before the whole week is out.

Are you keeping to a KCW sewing schedule or has it all been tossed out the window by now 😉 ?


Summer KCW – day 1

20140721-IMG_0360

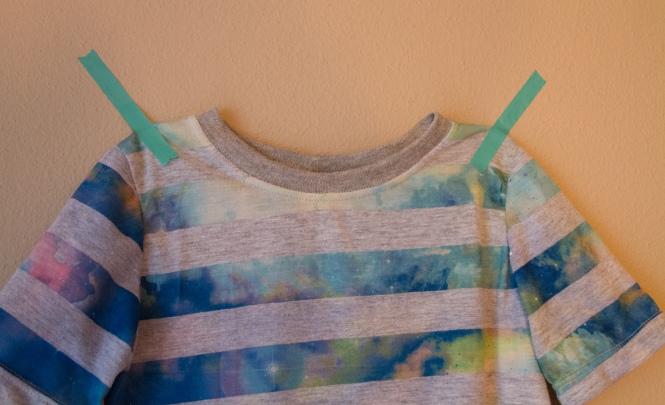
This season for Kids Clothes Week the theme is Kid Art. I wasn’t completely sure how I would incorporate the theme or if I would just ignore it since it’s optional, until I dug up some awesome stash fabric that’s been living in “the pit” for quite a while. Enter the beautiful stripe print dubbed “northern lights brother”.

20140721-IMG_0363

I love this print! It’s like perfection in fabric form; the stripes, the celestial bodies, the colors *swoon*. I just had to make a complete outfit based around this print, and so there will be two more coordinating pieces to follow later in the week to complete the ensemble for my son. My daughter will be getting similar treatment, a complete look based off of some amazing fabric. I hope I have time to get to her before the week is over!

20140721-IMG_0362

Back to the shirt! The pattern I used was Oliver + S School Bus t-shirt in size 2 sewn in this most gorgeous print which I had bought eons ago. For the neck I used a solid gray cotton ribbing from Joanns which I also topstitched to help the neck lie nice and flat.

20140721-IMG_0366

I can’t get over the colors in this fabric. So great.

20140721-IMG_0381

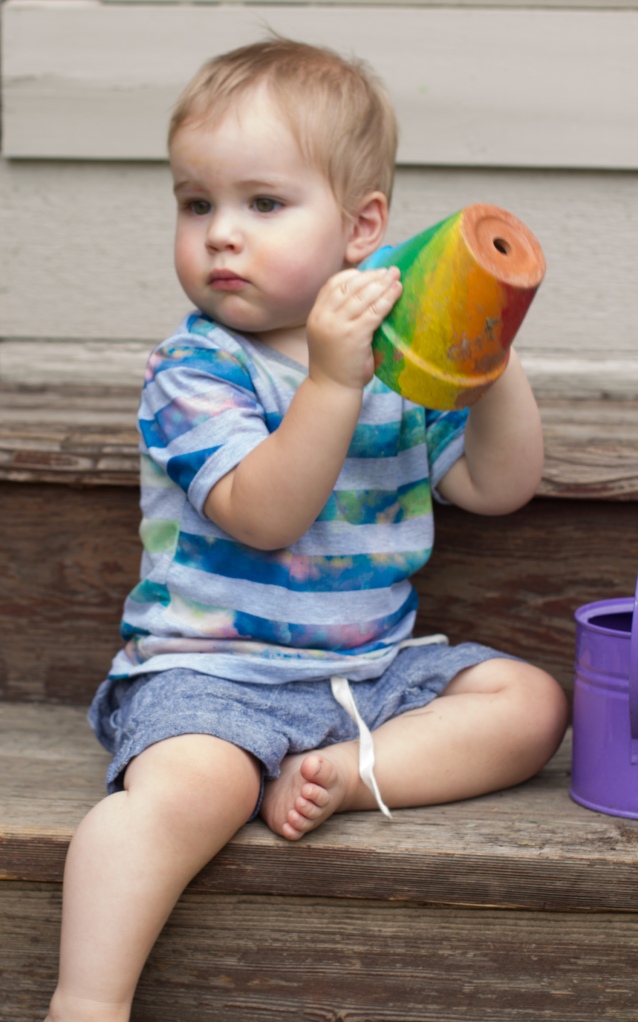
And it looks completely amazing on.

20140721-IMG_0390

20140721-IMG_0376

20140721-IMG_0397

I can only imagine what kind of mean garden this kid will plant. Especially wearing this shirt 😉

20140721-IMG_0393

Blurry action shot.

Day 1 of KCW a success! What are you sewing for KCW?


A baby shower gift

20140716-IMG_0353

Baby showers make me a bit giddy. Itty bitty cuteness just waiting to be sewn and put on tiny sweet newborn babies. ❤ So of course I jumped at the chance to make something sweet and girly for my friend’s upcoming baby. The sewing patterns I used were Oliver + S playtime leggings, and the dress is a Made By Rae pattern called the Itty Bitty Baby dress. For the leggings I scaled them down a size to make them 0-6 months and I sewed them out of Heather Ross’ Briar Rose strawberry knit. I’m a huge fan of Heather Ross! Her fabrics are to die for.

20140716-IMG_0354

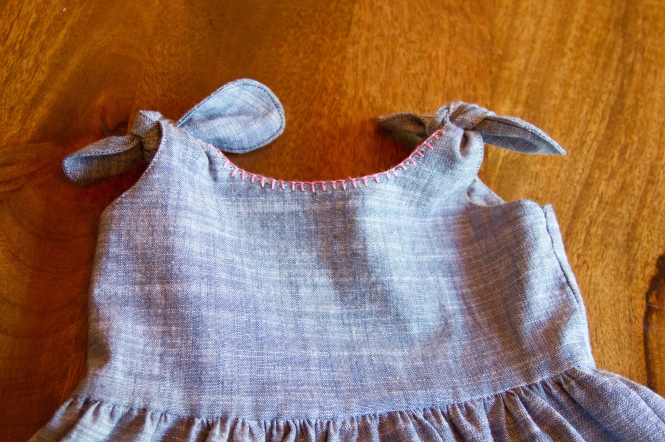
For the dress I scaled the dress pattern up a size to make it 3-6 months, omitted the waist piping and hem bias tape, and hand stitched the hem plus the bodice lining at the waist for a neat finish. I sewed it from Robert Kaufman union chambray in indigo, which is seriously a wonderful chambray. It’s one of my favorites, and I must sew all the things from it!

20140716-IMG_0355

For some extra special detail I embroidered the collar with several different stitches using this tutorial from purlbee as a guide. The finished look is seriously lovely! I need to make one of these to keep!

20140716-IMG_0359

The back got one row of embroidery as well.

20140716-IMG_0357

Strawberry legs! Congrats to my friend 🙂 Can’t wait to meet your little bundle of joy.


Eyelet and lace croquet dress

20140715-IMG_0275

My first love is historical costuming. In fact, that’s why I became a seamstress in the first place. I still remember being at the renaissance fair as a young child and falling totally in love with the costumes worn by the women who worked there, and subsequently being totally crest-fallen when the available rental costumes were rubbish. I then understood what sewing was about, well for me at least; it was a way to make beautiful one of a kind things that you couldn’t find anywhere else.

20140715-IMG_0281

This dress really took me back to that childhood place of costume-y love. It harkens back to my favorite time period, the edwardian era, with soft glowing white dresses covered in intricately stitched lace insertions. *dreamy sigh*.

20140715-IMG_0316

The pattern I used was Oliver + S croquet dress size 4 sewn in white cotton eyelet, dotted swiss, and cotton lace insertions. I mostly used view B but didn’t gather the top of the bodice, made the skirt fuller, added an inserted dotted swiss panel to the skirt front, and sewed thirteen lace insertions throughout the bodice and sleeves. Sound like a lot of work? Why, yes it was! If it had not been for Flip This Pattern I may have never had the nerve to undertake it. But I did, and now it’s done. WHEW!

20140715-IMG_0323

Since I’ve been on a “real” material’s kick, I used a pearl button for the back closure. If you’ve never tried anything but plastic buttons you’re in for a treat! Glass, pearl, mother of pearl, wood, bone… there are so many wonderful and beautiful options to try!

20140715-IMG_0328

I did the tie casing in dotted swiss, and the bow in antique pink silk. You can see the lace insertions make the dress sheer in that area, so it was necessary to sew a slip for underneath.

20140715-IMG_0283

For the slip I used the Oliver + S pinwheel dress size 4 sewn in white batiste and dotted swiss. I modified the dress to be slim fitting, to have a waistline height matching the croquet dress, and made the skirt fuller and longer.

20140715-IMG_0295

This dress pattern makes a great slip. Plus it’s quick and easy to sew!

20140715-IMG_0276

Some photos of the lace insertion detail on the bodice.

20140715-IMG_0290

A closeup of the silk bow. Love that color!

20140715-IMG_0288

Sleeve lace insertions.

20140715-IMG_0332

And now for a few action shots!

20140715-IMG_0342

20140715-IMG_0351

I’m so glad this dress is no longer just living in my brain! It was a challenge to undertake but sure is satisfying to finally have it made.

What lovely projects have you been sewing? Anyone else participating in Flip This Pattern?


Red, white, and blue

20140706-IMG_0201

In celebration of the 4th I decided to make some red, white, and blue things for the kids. America really picked some great colors, I just love them together!

20140706-IMG_0202

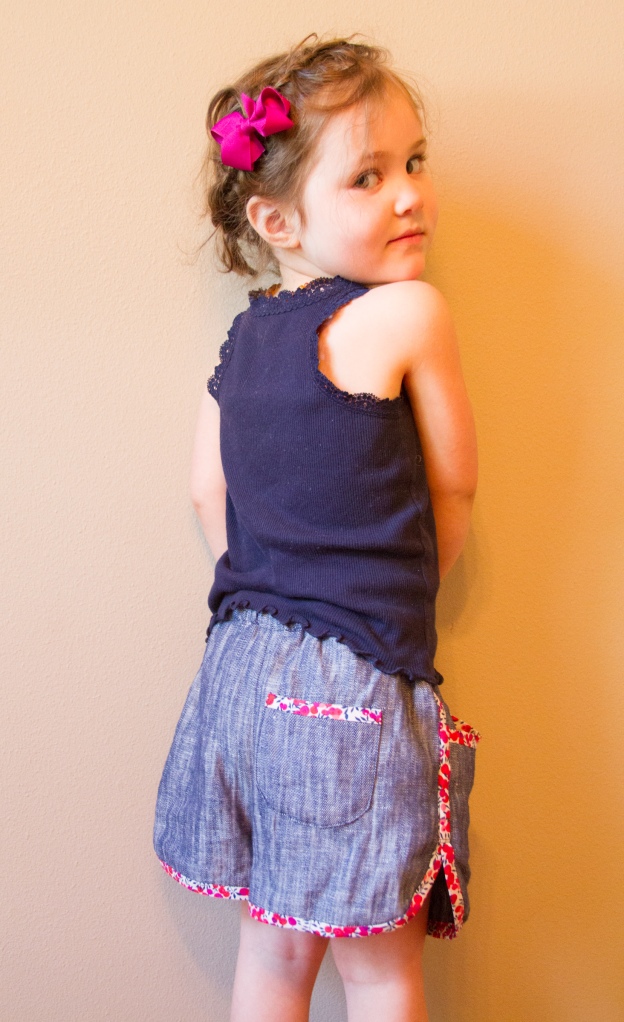
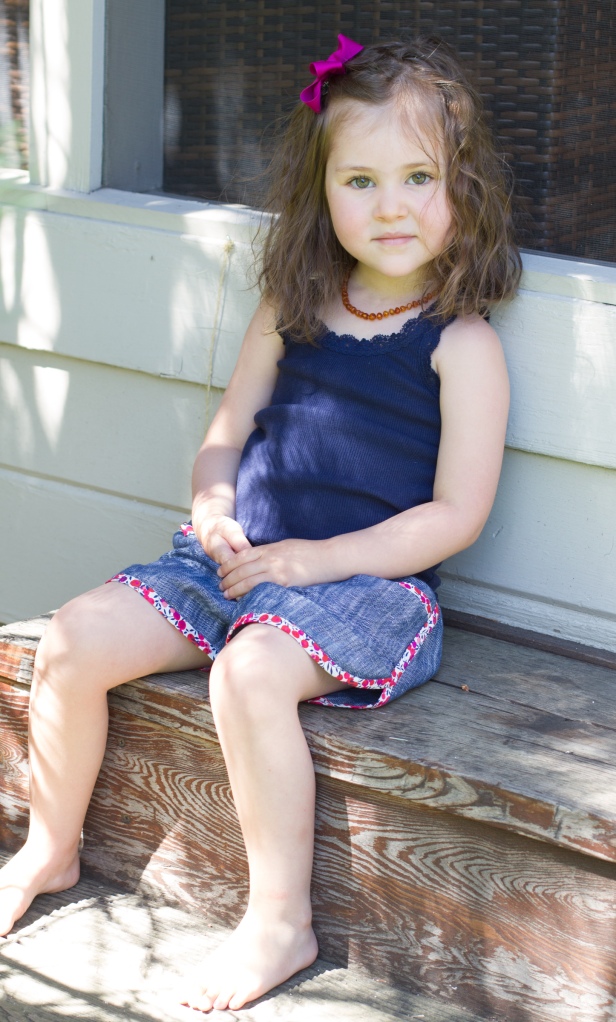
For my daughter I made a pair of Prefontaine shorts by Made with Moxie. I made them in size four in Robert Kaufman Rustica cotton/linen chambray in color indigo with self-made bias tape from my Liberty of London stash. This chambray is almost fuzzy soft, very supple, and lightweight but not too thin for shorts. It’s very lovely like all of the Kaufman chambray’s I’ve used!

20140706-IMG_0209

She has a way of looking super thrilled doesn’t she? Yes, the shorts are WAY too big. I think she’ll be able to wear these when she’s ten! If only I had checked the measurement chart for the pattern first, but no, I was lazy :/

20140706-IMG_0214

Regardless of how huge they are, they still are stinking cute!

20140707-IMG_0241

And now she can finally rock this pose without showing us her undies.

20140707-IMG_0228

Looking cool in her shorts!

20140706-IMG_0193

For my boy I made him a modified Sketchbook shirt by Oliver + S. I sewed it in size 18-24 months from Robert Kaufman Union dot chambray. Have I mentioned I love Kaufman chambray? 😉 Instead of plastic buttons this time I sprung for mother of pearl ones, which I sewed on with red embroidery floss. I love using real materials to create heirloom quality items. I’ll be doing much more of that where I can!

20140706-IMG_0198

You may recognize this fabric from a set of matching skirts I made for my daughter, myself, and my daughter’s doll. My son got a bow-tie from it too but I felt he needed something more from this amazing fabric! And as luck would have it I had just enough left to eek this shirt out.

20140706-IMG_0195

I sewed view A sleeves with view B collar. I modified the sleeves by adding tabs to button them once rolled up. I also added an additional pocket to the front and added flap closures with buttons. If you look closely you’ll notice the shirt front has a yoke. This was due to not really having enough fabric but determination to make it work 😉

20140707-IMG_0255

I love this shirt on him! It’s quite lightweight which will be great for our hot summers here!

20140707-IMG_0260

Must get flower pot in order to…

20140707-IMG_0268

…dump dirt on self 😀

20140707-IMG_0271

I just love how these red white and blue projects turned out!

Did you sew anything in honor of the 4th?